Do you guys have a bunch of necklaces that keep getting
tangled?
Well I did, so I came
up with this super easy and cute jewelry organizer to store my necklaces.


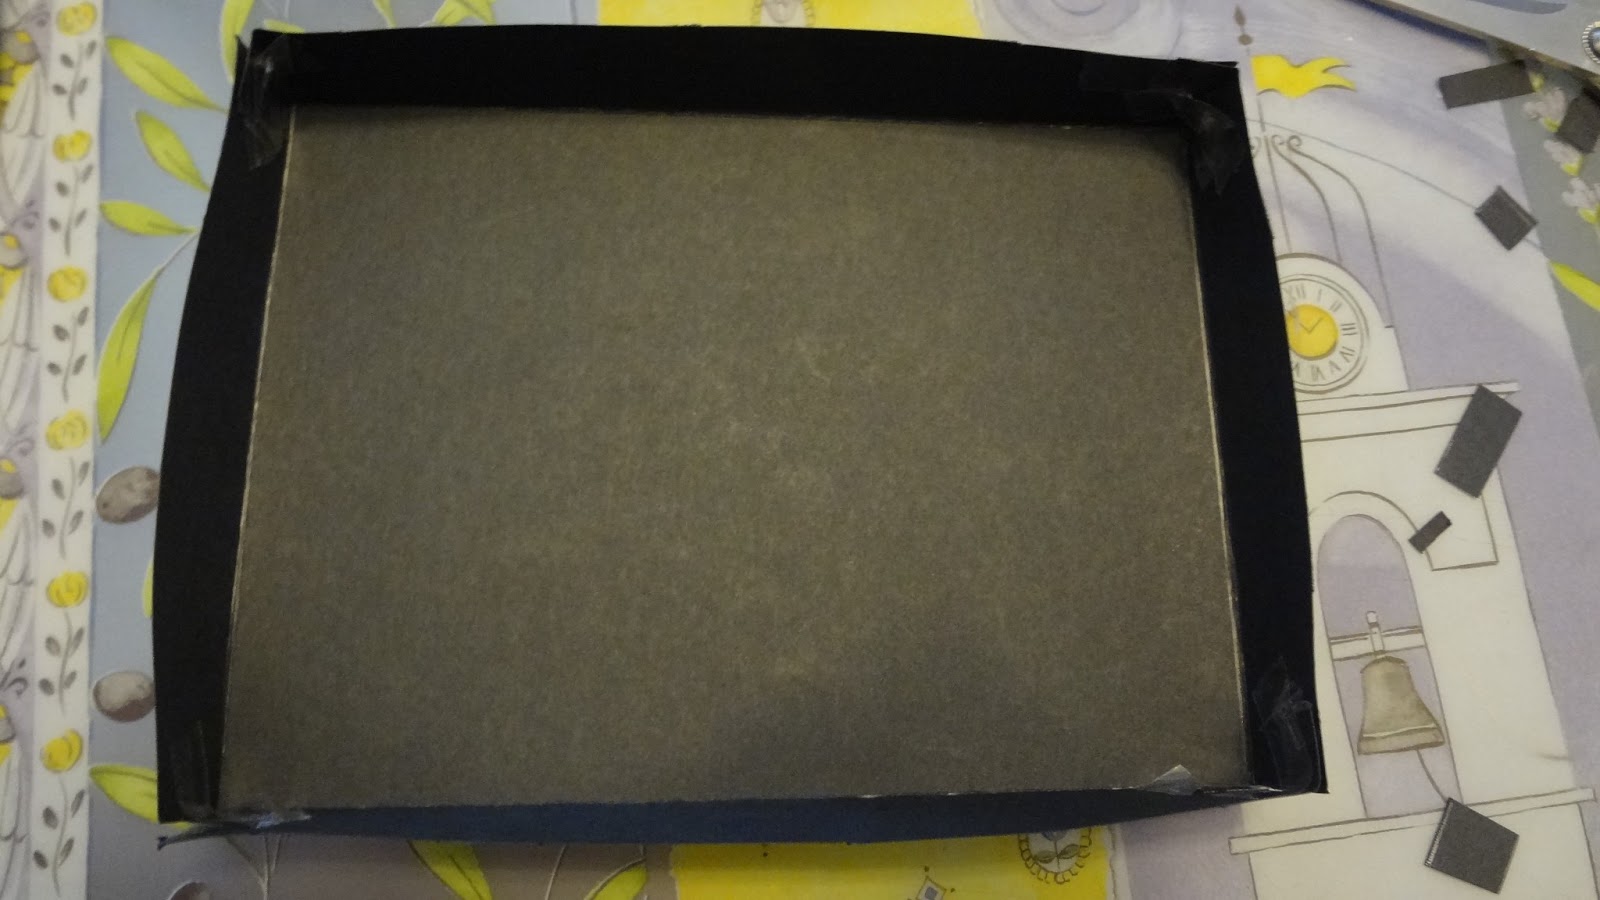
Step 1: Get any
cardboard box you have lying at home, and open it up keeping the edges
intact.

 |
| Open the box with edges intact |
Step 2: Cut it like this to get the
basic outline of your jewelry box.


Step 3: Next get a strip of cardboard the same height at the edges and put it in the middle of your box.

Step 4: Cover the
entire box with fancy tape. I used two types of tape, you can use just one if you want.

Step 5: Get some
sturdy paper and cut strips with the same height and width as the middle cardboard
piece. Fold a bit of the paper horizontally so that this is easier to stick.
Place these on you box.


Step 6: Next,
take smaller strips and stick them as shown to further divide the box into
smaller compartments.


 |
Step 7: Do the
same on the other half of the box. You can play around with the compartments as
you like to suit your needs.


Step 8: Now comes
the cover, which is optional. I took another piece of stiff paper and drew the
outline of my box with pencil in the center of the paper.
Next, I drew lines around the center of the paper of the
width equal to the height of the cover that I wanted and cut it out.
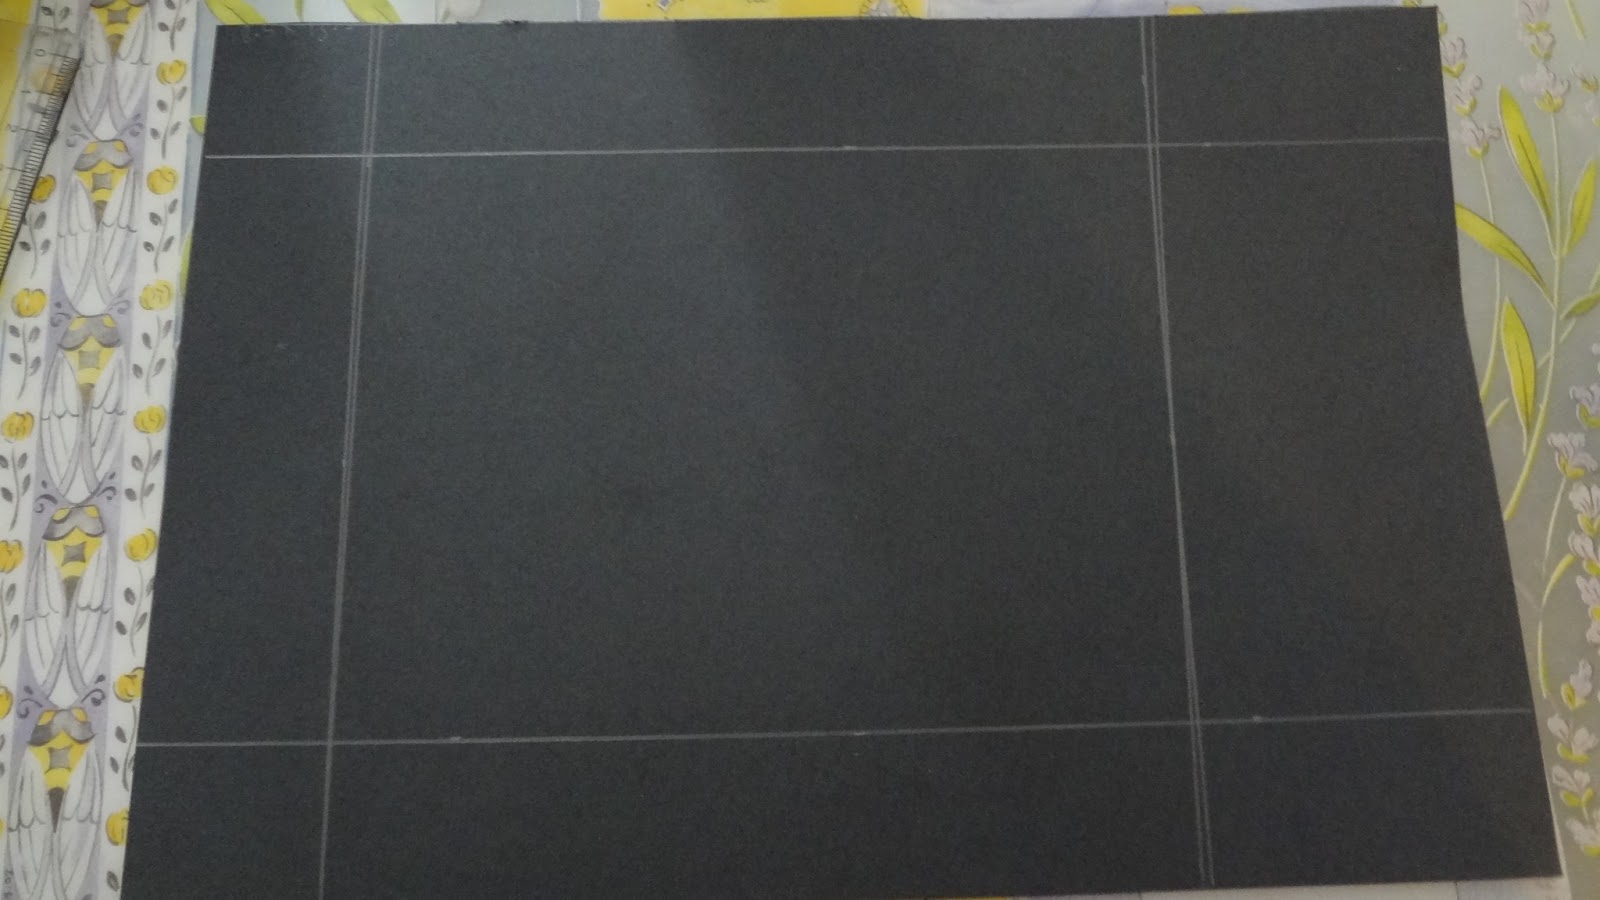

Step 9: I cut
the squares at the edges as shown to make the process of sticking everything
easier. Next, as predicted I stuck the edges together to make the cover.


Step 10: To make the flower on the box, I cut out different sized
flower petals and curled them with the help of a pencil. I stuck them all together as shown.

 |
| First make a rough big flower. |
 |
| Stick a smaller flower in the big one. |
 |
| Keep doing the same thing till you have the desired detail! |
Step 11: To
finish decorating my cover, I pasted the flower and added ribbons!


No comments:
Post a Comment